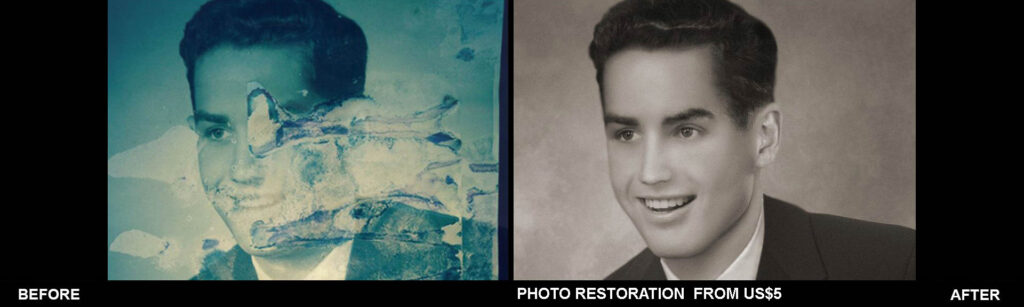
Tips for Scanning Photos for Restoration: A Practical Guide
When it comes to restoring old or damaged photos, one of the first (and most crucial) steps is getting a high-quality scan. Whether you’re planning to fix faded colors, repair tears, or simply preserve precious memories, the quality of your scan sets the stage for how successful your restoration will be. But don’t worry—getting a great scan doesn’t have to be complicated. Below, we’ve rounded up some practical and friendly tips to help you achieve the best scan possible for photo restoration.
1. Use a Good Quality Scanner
It might seem obvious, but the type of scanner you use can make a huge difference in the quality of your scan. Flatbed scanners are typically the best choice for photo restoration since they provide consistent, high-quality scans without the risk of damaging the photo. If you’re using an all-in-one printer/scanner, it’s still important to check the resolution and settings for optimal results.
2. Clean Your Photos, Negatives, and Slides
Before scanning, take a moment to gently clean your photos and slides. Use a soft, lint-free cloth to remove any dust or dirt. You’ll be surprised at how much cleaner and clearer your scans will look when you avoid scanning over dust particles, fingerprints, or smudges. A can of compressed air is also handy for removing dust from slides or negatives.
3. Scan Your Photo at an Appropriate Resolution
The resolution of your scan is essential for ensuring that the details are captured accurately. Here are some general guidelines:
- 300ppi: If you plan on printing your restored photo at the same size as the original (or resizing it for web use later), 300ppi is usually sufficient.
- 600ppi: For more intensive restoration work or if you plan to enlarge the photo, opt for a 600ppi scan. This higher resolution will give you more detail to work with when fixing imperfections.
4. Turn Off Automatic Filters
Most scanners come with automatic filters designed to improve image quality—things like auto-color correction or dust removal. While they might sound helpful, these features can sometimes distort the true look of your photo, especially during restoration. For the most control, make sure you turn off any automatic adjustments.
5. Crop the Preview Scan
When you scan your image, make sure to crop out any unnecessary background. This will help keep your file size smaller and prevent you from scanning extra space around the photo that might just introduce noise or artifacts.
6. Scan Black and White Photos in 24-bit RGB (Not Grayscale)
It’s a common misconception that black-and-white photos should always be scanned in grayscale. For the best results, scan them in 24-bit RGB color mode. Why? Because 24-bit color files capture much more detail in the subtle tonal variations of a black-and-white photo. If your photo is especially faded, you might want to scan in 48-bit mode for even more depth.
7. Avoid Textured or Embossed Paper
Some photos may have been printed on textured or embossed paper, which can cause issues during scanning. These textures can create unwanted distortions in your scan. In such cases, it’s better to photograph the photo with a digital camera rather than scanning it.
8. Save Your Scans in a Lossless Format
When it comes to saving your scans, always choose a lossless format like TIFF. This ensures you won’t lose any quality while saving. JPEGs, on the other hand, are a compressed format and should only be used as a final save after all restoration work is complete. For your initial scan, don’t make any changes to the file except for naming it—preserve the original as-is.
9. View Your Scans at 100% Zoom
After scanning, take the time to check the scanned image at 100% zoom on your computer. This allows you to closely inspect the scan and ensure no details were missed. Looking at your scan this way will help you spot any imperfections or issues before diving into the restoration process.
Final Thoughts
Scanning for photo restoration is all about getting a high-quality digital version of your image to work with. By following these simple but effective tips, you’ll ensure your photos are scanned with the highest level of detail, ready for whatever restoration work lies ahead. Whether you’re fixing faded colors, repairing damage, or simply preserving your memories for years to come, the scan is the first step—and a great one at that!