Introduction: Why White Balance Matters
White balance in real estate photography is a game-changer. Imagine a beautifully lit property with an elegant interior—but the photos have a strange yellow or blue tint. This subtle issue can make the difference between attracting potential buyers and driving them away. In this post, we’ll dive into white balance in real estate photography, why it’s essential, and how to perfect it in your real estate images.
What is White Balance?
Simply put, white balance is the process of adjusting colors in a photo to make them look natural and true to life. Different light sources—like sunlight, fluorescent bulbs, and incandescent lights—emit light at different color temperatures, causing a photo to look overly warm (yellow/orange) or cool (blue). White balance corrects these color casts, ensuring whites look white and colors appear accurate.
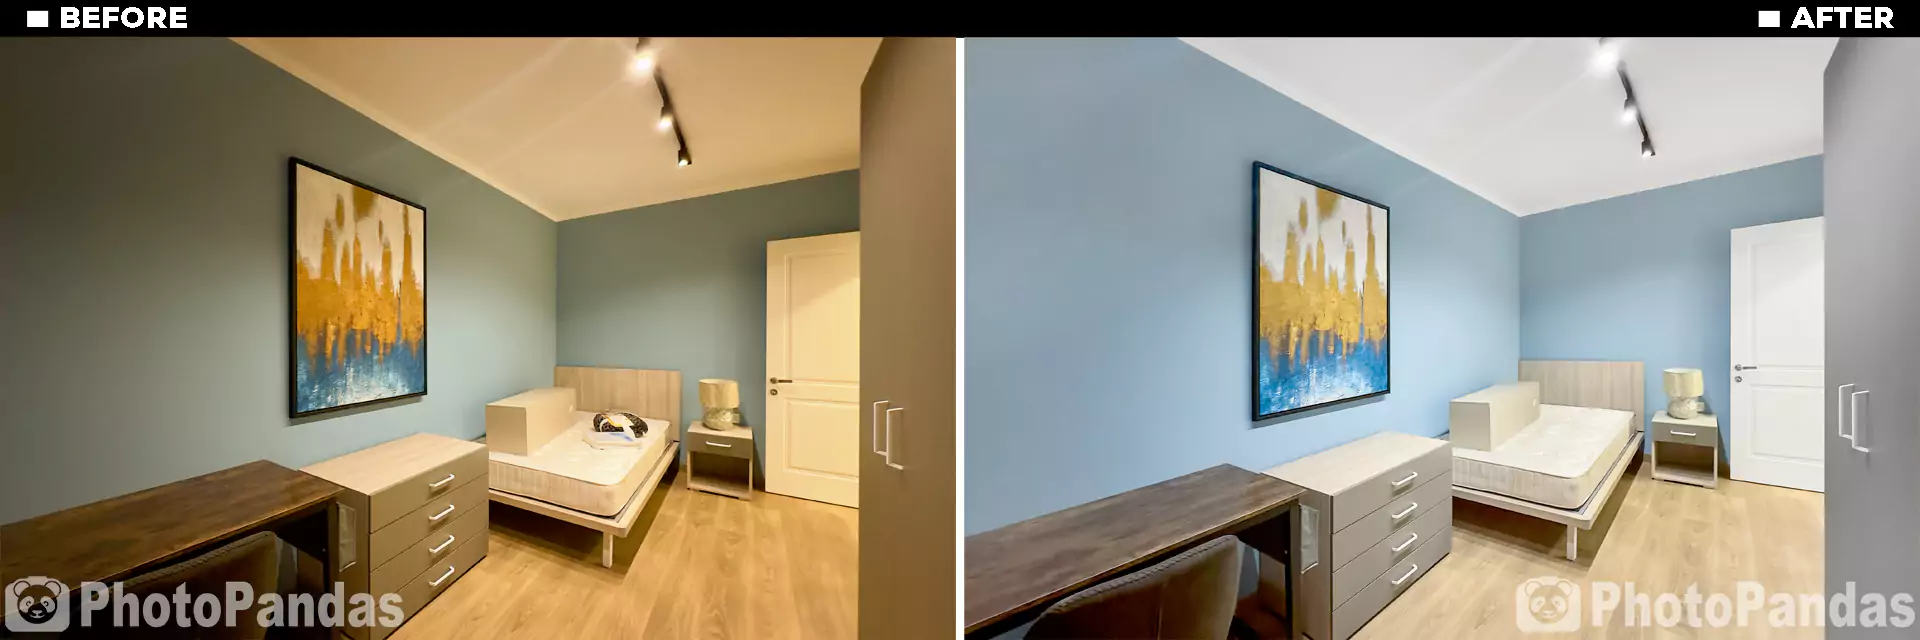
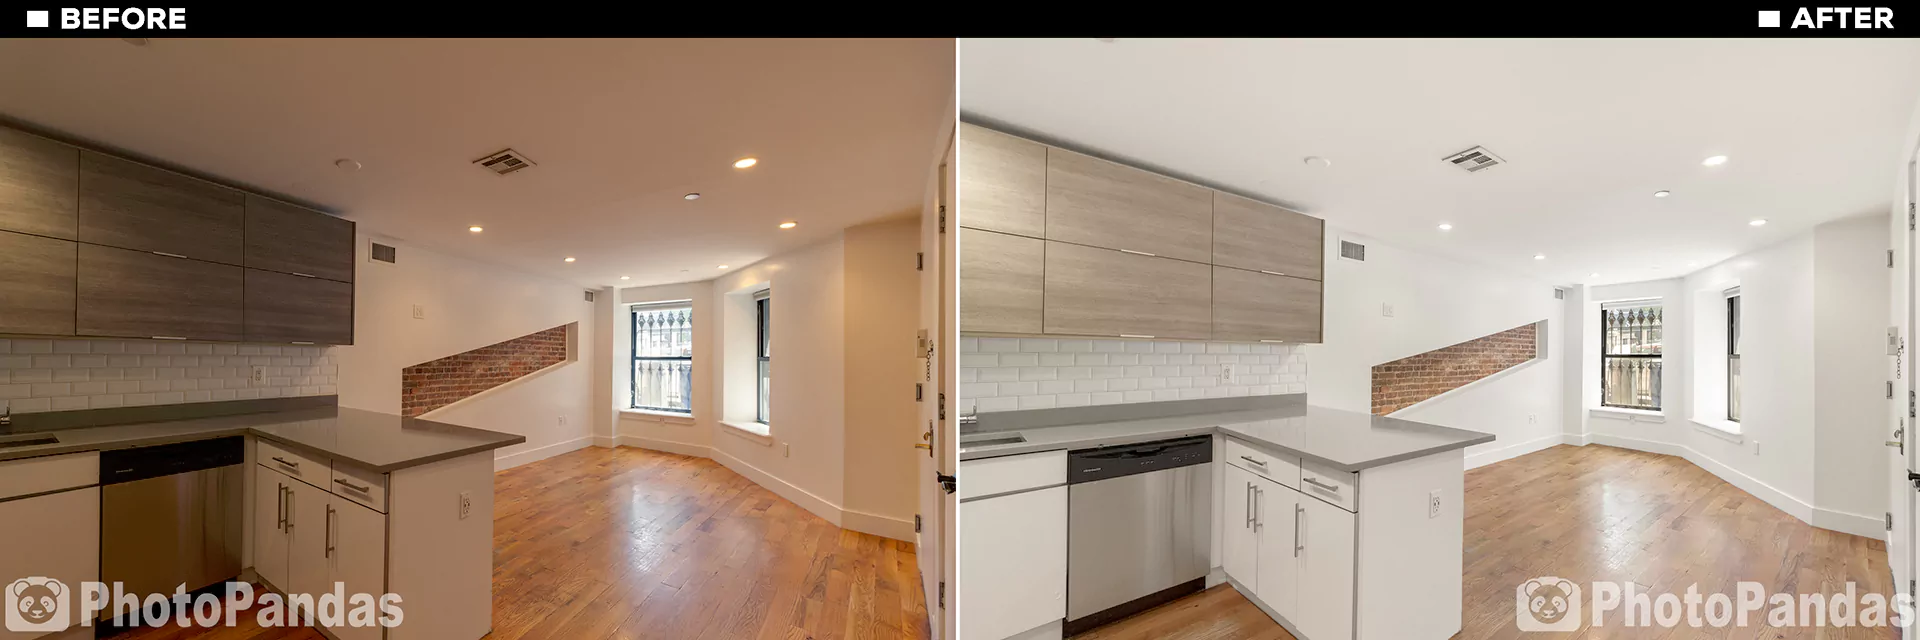
White Balance Before and After Example
Challenges with White Balance in Real Estate Photography
Real estate photographers often encounter unique lighting challenges, such as:
- 🏠 Mixed Lighting Indoors: A combination of natural sunlight and artificial lighting can create conflicting color temperatures.
- 🌤️ Bright Natural Light: Outdoor shots or interiors with large windows can cause harsh contrasts.
- 🔦 Artificial Lighting: Fluorescent or incandescent bulbs can dominate the scene, leaving an unnatural hue.
Addressing these challenges is key to producing professional, appealing photos that do justice to the property.
How to Adjust White Balance
Shooting Tips:
- 🔧 Use the Correct Camera Settings: Modern cameras offer preset white balance modes like daylight, tungsten, and fluorescent. Start by selecting the one that matches your lighting conditions.
- 📽️ Shoot in RAW Format: RAW files retain all image data, giving you greater flexibility for post-processing adjustments.
- 🎨 Employ a Gray Card or White Balance Target: Use these tools to capture a reference shot for accurate color correction during editing.
Editing Techniques:
 Using Lightroom:
- Open the image in Lightroom’s Develop module.
- Use the White Balance Selector tool (eyedropper icon) to click on a neutral gray or white area in the photo.
- Adjust the Temp and Tint sliders for fine-tuning.
 Using Photoshop:
- Open your image and create a new adjustment layer for Curves or Levels.
- Use the gray dropper tool to sample a neutral area in the image.
- Fine-tune until the colors appear natural.
Before-and-After Examples
Visual proof speaks louder than words. Below are examples showcasing the impact of white balance adjustments:
Example 1: Indoor Living Room
- 📝 Before: Notice the yellowish tint caused by incandescent lighting.
- 📝 After: Corrected for natural, balanced tones that showcase the room’s true colors.
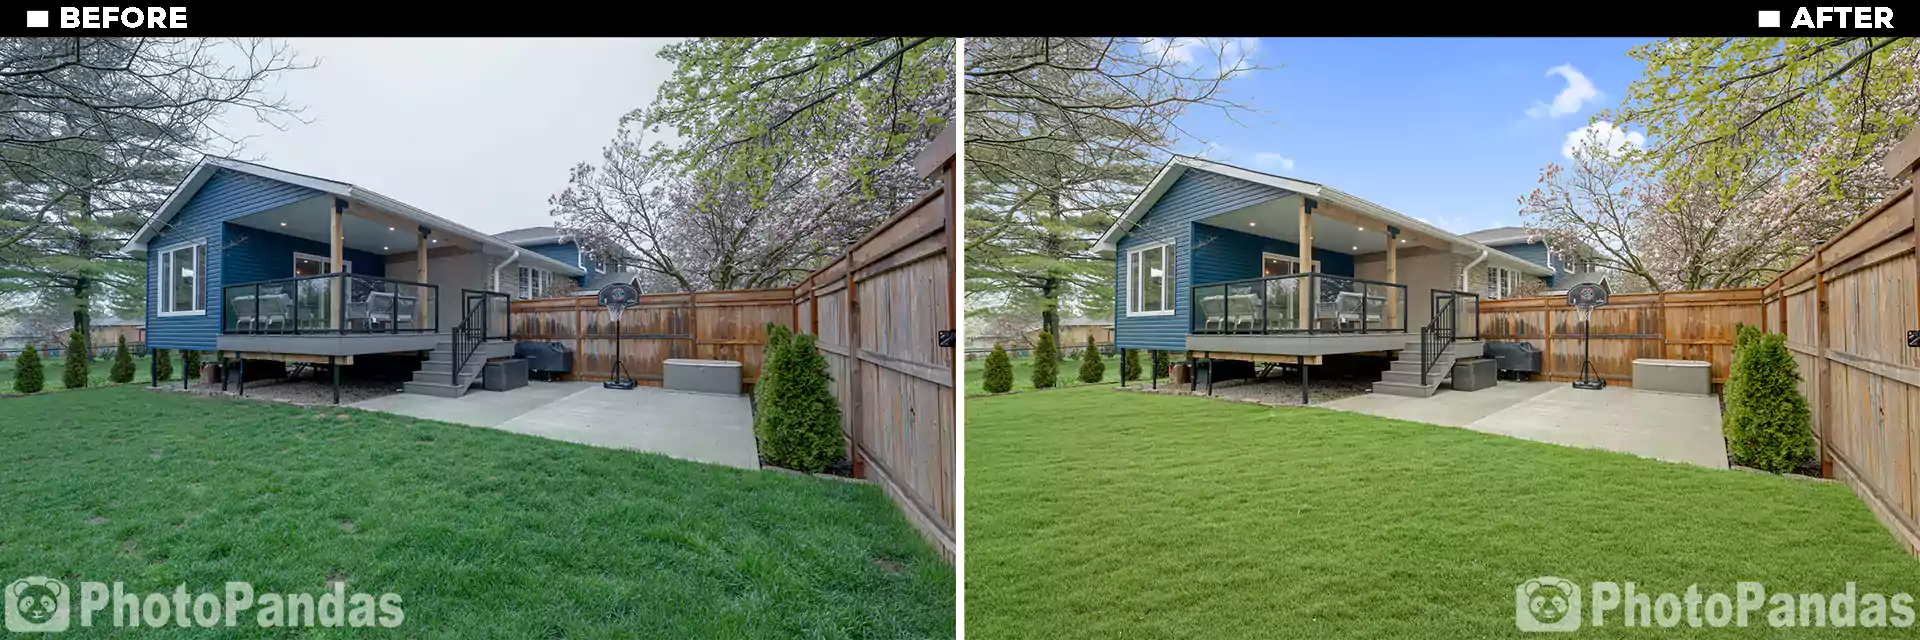
Example 2: Outdoor Facade
- 📝 Before: The image appears overly cool, diminishing the property’s warmth and appeal.
- 📝 After: White balance correction brings out natural colors, making the property look inviting.
Why White Balance Matters for Real Estate Listings
Accurate white balance is more than just a technical detail; it’s a key factor in presenting a property at its best by enhancing its emotional appeal. When colors appear natural and balanced, potential buyers are more likely to feel a positive connection to the space, imagining themselves living there with ease and comfort. Properly balanced photos:
- 🌟 Highlight the property’s true charm and character.
- 🏡 Build trust with potential buyers by providing accurate representations.
- 💼 Create a professional impression, helping listings stand out in competitive markets.
How Photopandas Can Help
Struggling with white balance adjustments? That’s where Photopandas comes in. Our expert photo editing team specializes in perfecting white balance and enhancing your real estate photos to attract more buyers. Let us handle the technical details so you can focus on capturing stunning shots. Visit Photopandas to learn more about our services.
White balance in real estate photography might seem like a small adjustment, but its impact is immense. By mastering it, you can elevate your work and showcase properties in the best light possible. Ready to take your photos to the next level? Let’s get started!